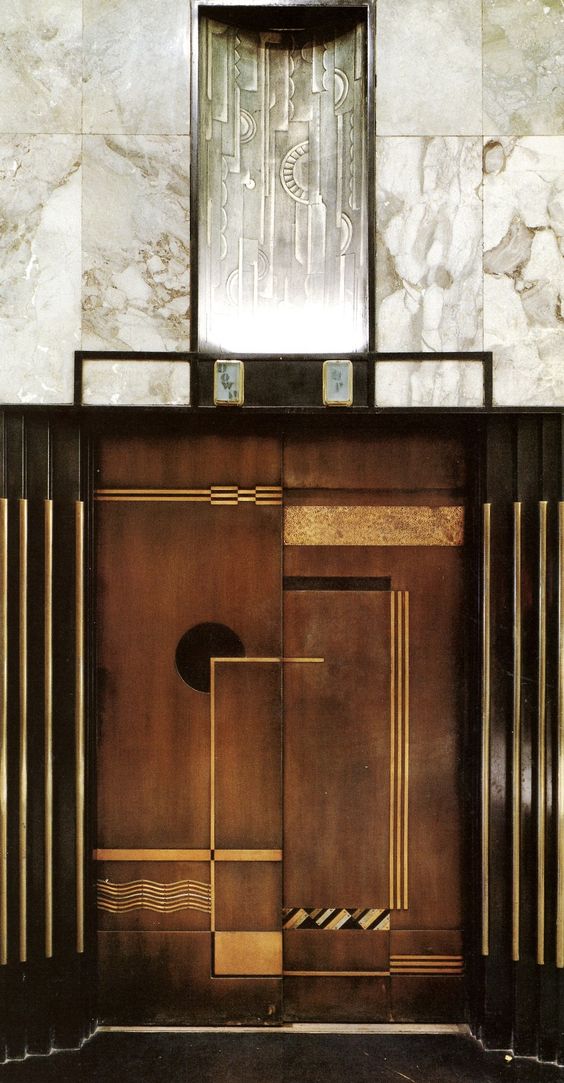
A couple of months ago, a Los Angeles designer contacted us to create an art deco cabinet. The inspiration for this project was the stunning lobby elevator doors of the Bullocks Wilshire building in LA created by the architects John and Donald Parkinson. This commission was very exciting. It also allowed us to step outside the usual realm of our more classical productions,. The goal was to bring traditional techniques and high-quality materials to magnify a powerful classic design.
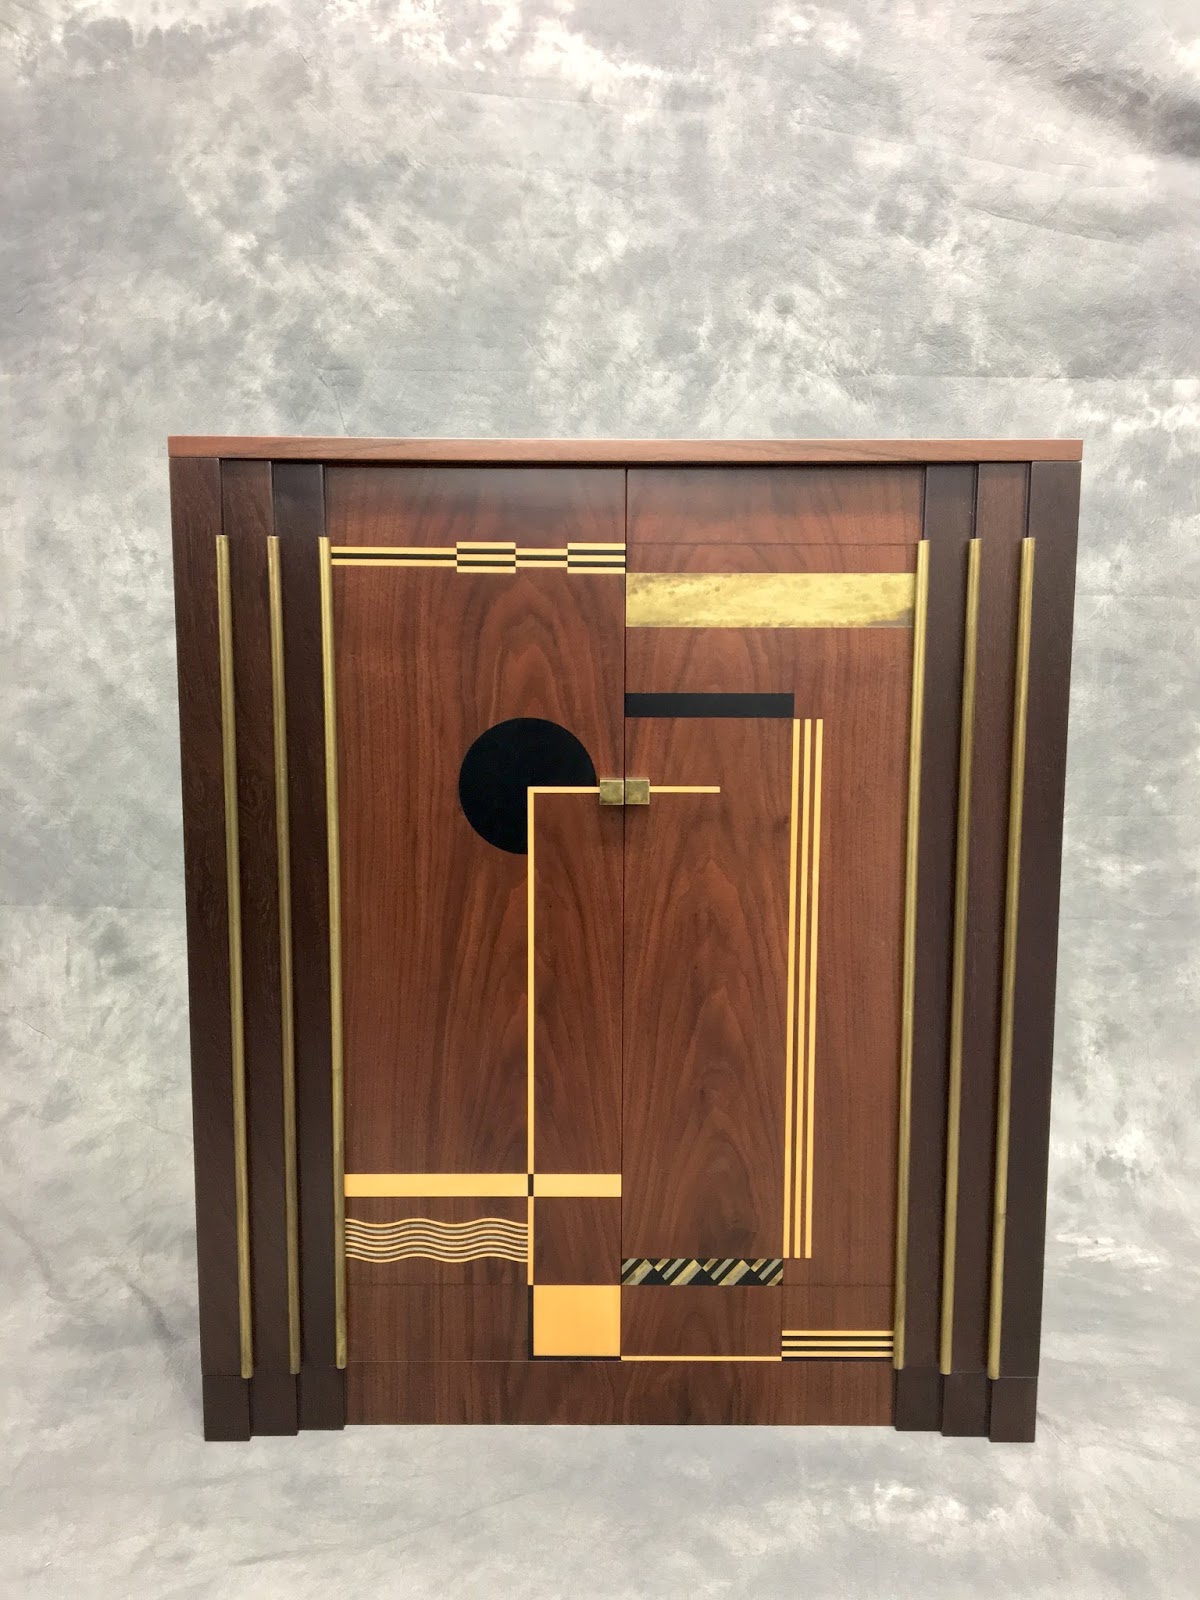
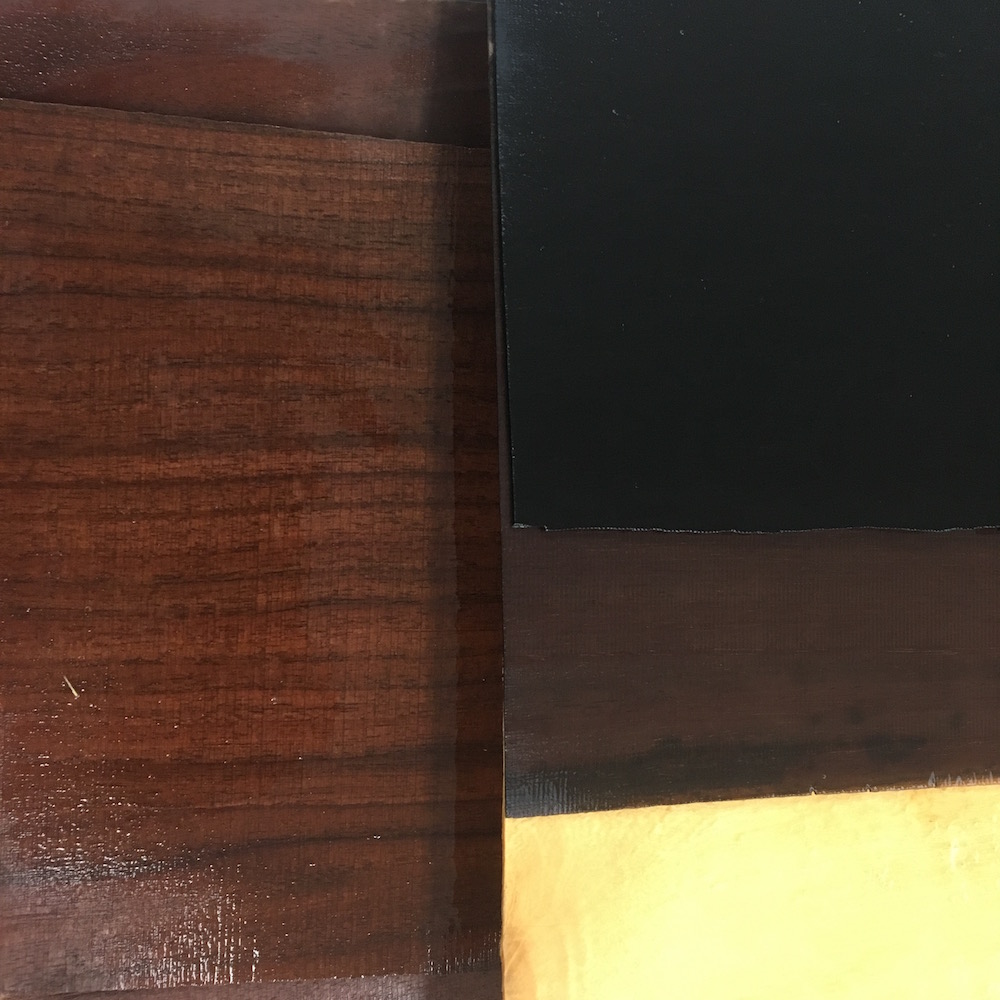
In the ’70s, Patrick had bought a beautiful American walnut board which was the perfect piece in color and width for this project. Thus we used this board to create a solid top, solid edges for the doors and shelves, the rest was resawn into veneer to create the background skin for the marquetry. This was the perfect solution to keep unity in color and grain throughout the all piece. Other materials would include espanilla, boxwood, ferréol, and ebony sawn veneer, as well as pewter and brass sheet.
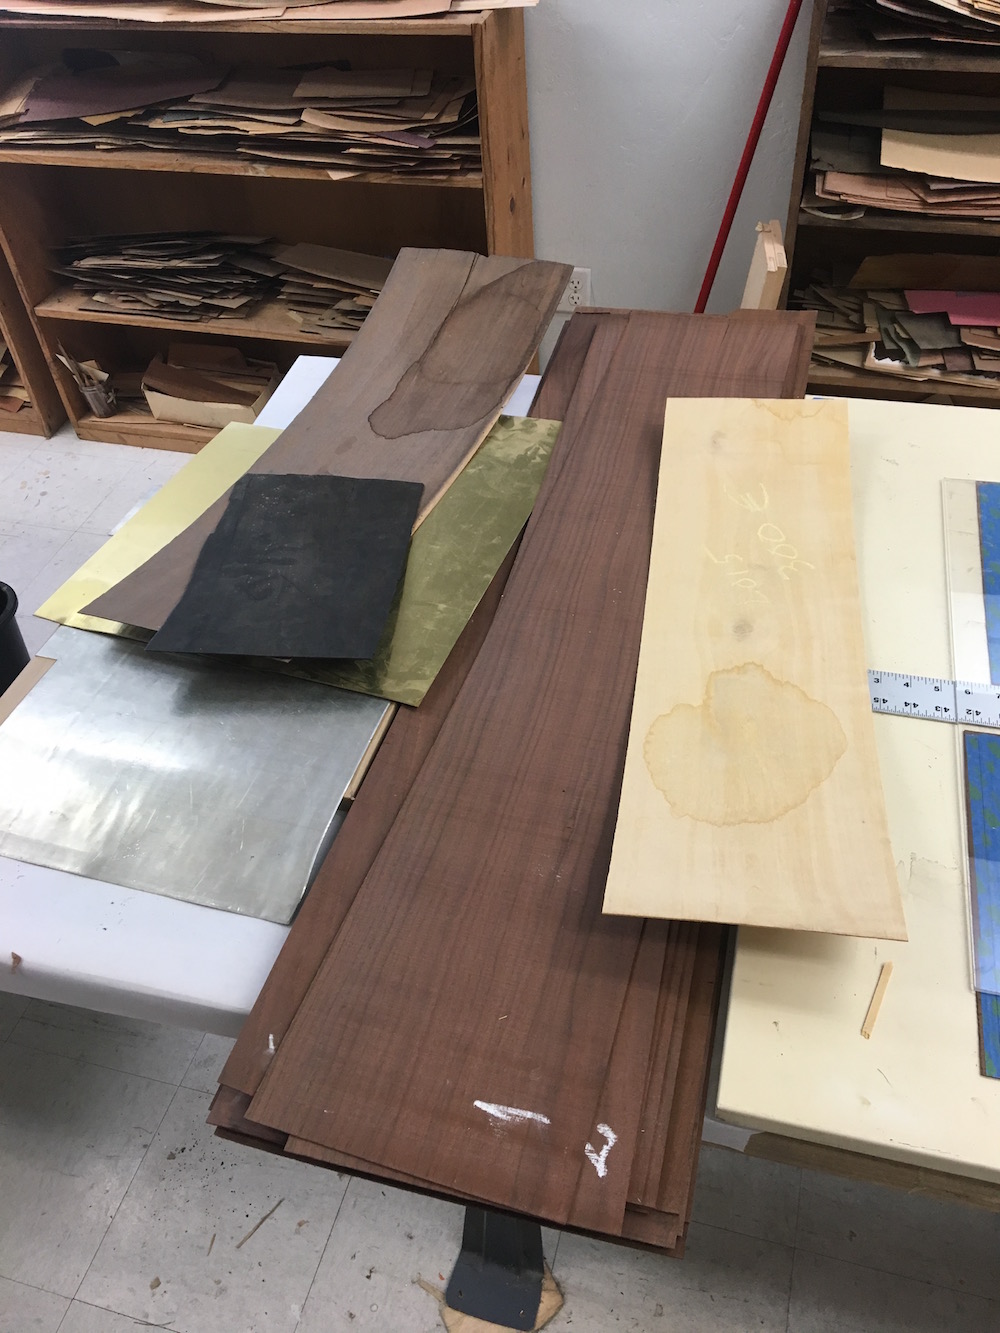
Spraying alcohol on veneer helps to chose your colors, it mimics finish without leaving a stain.

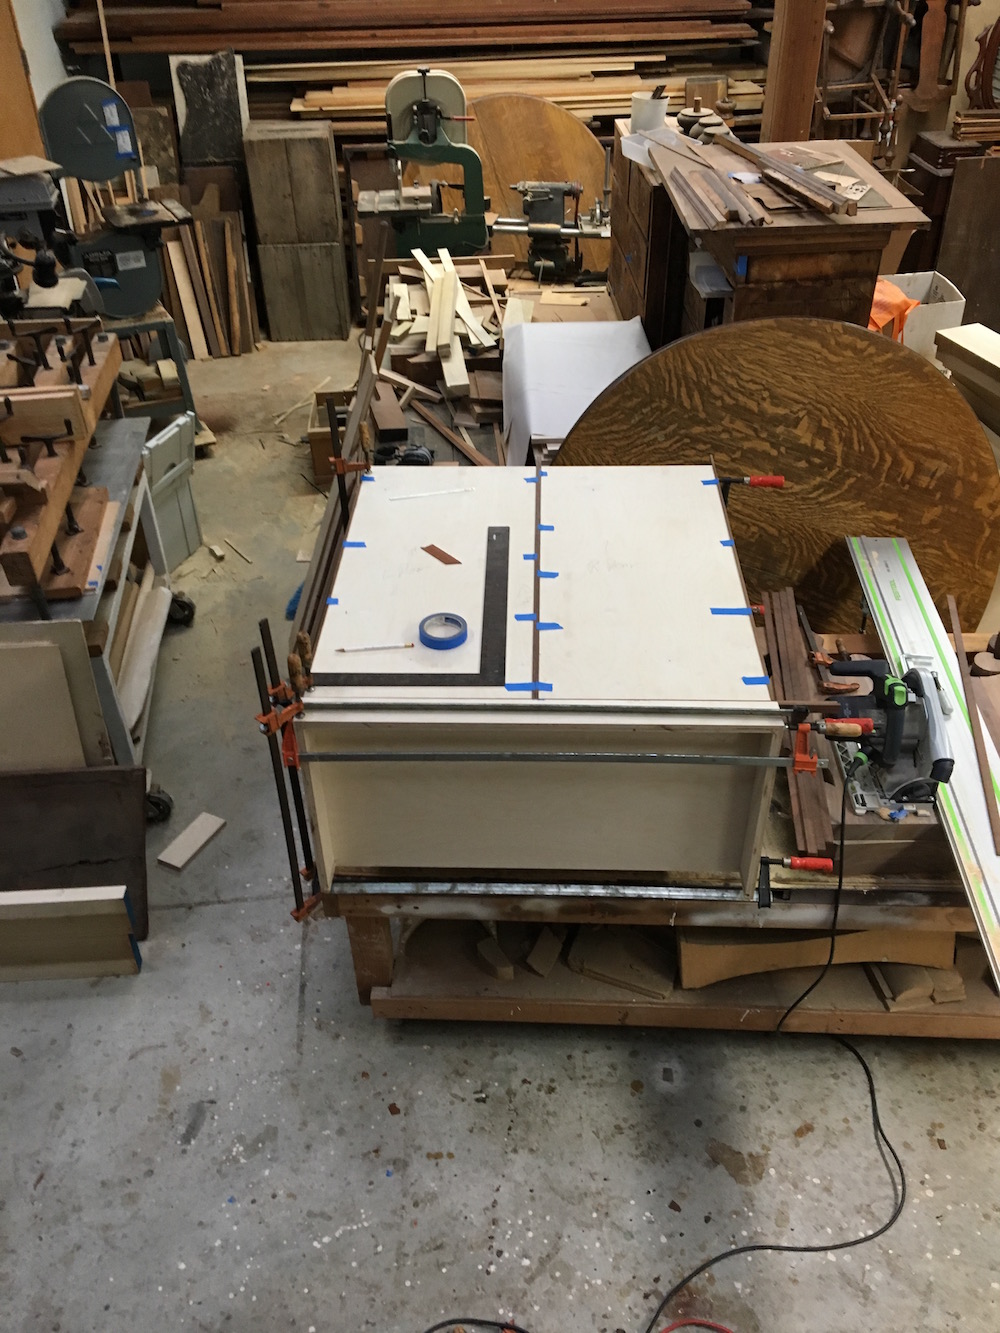
Building the cabinet
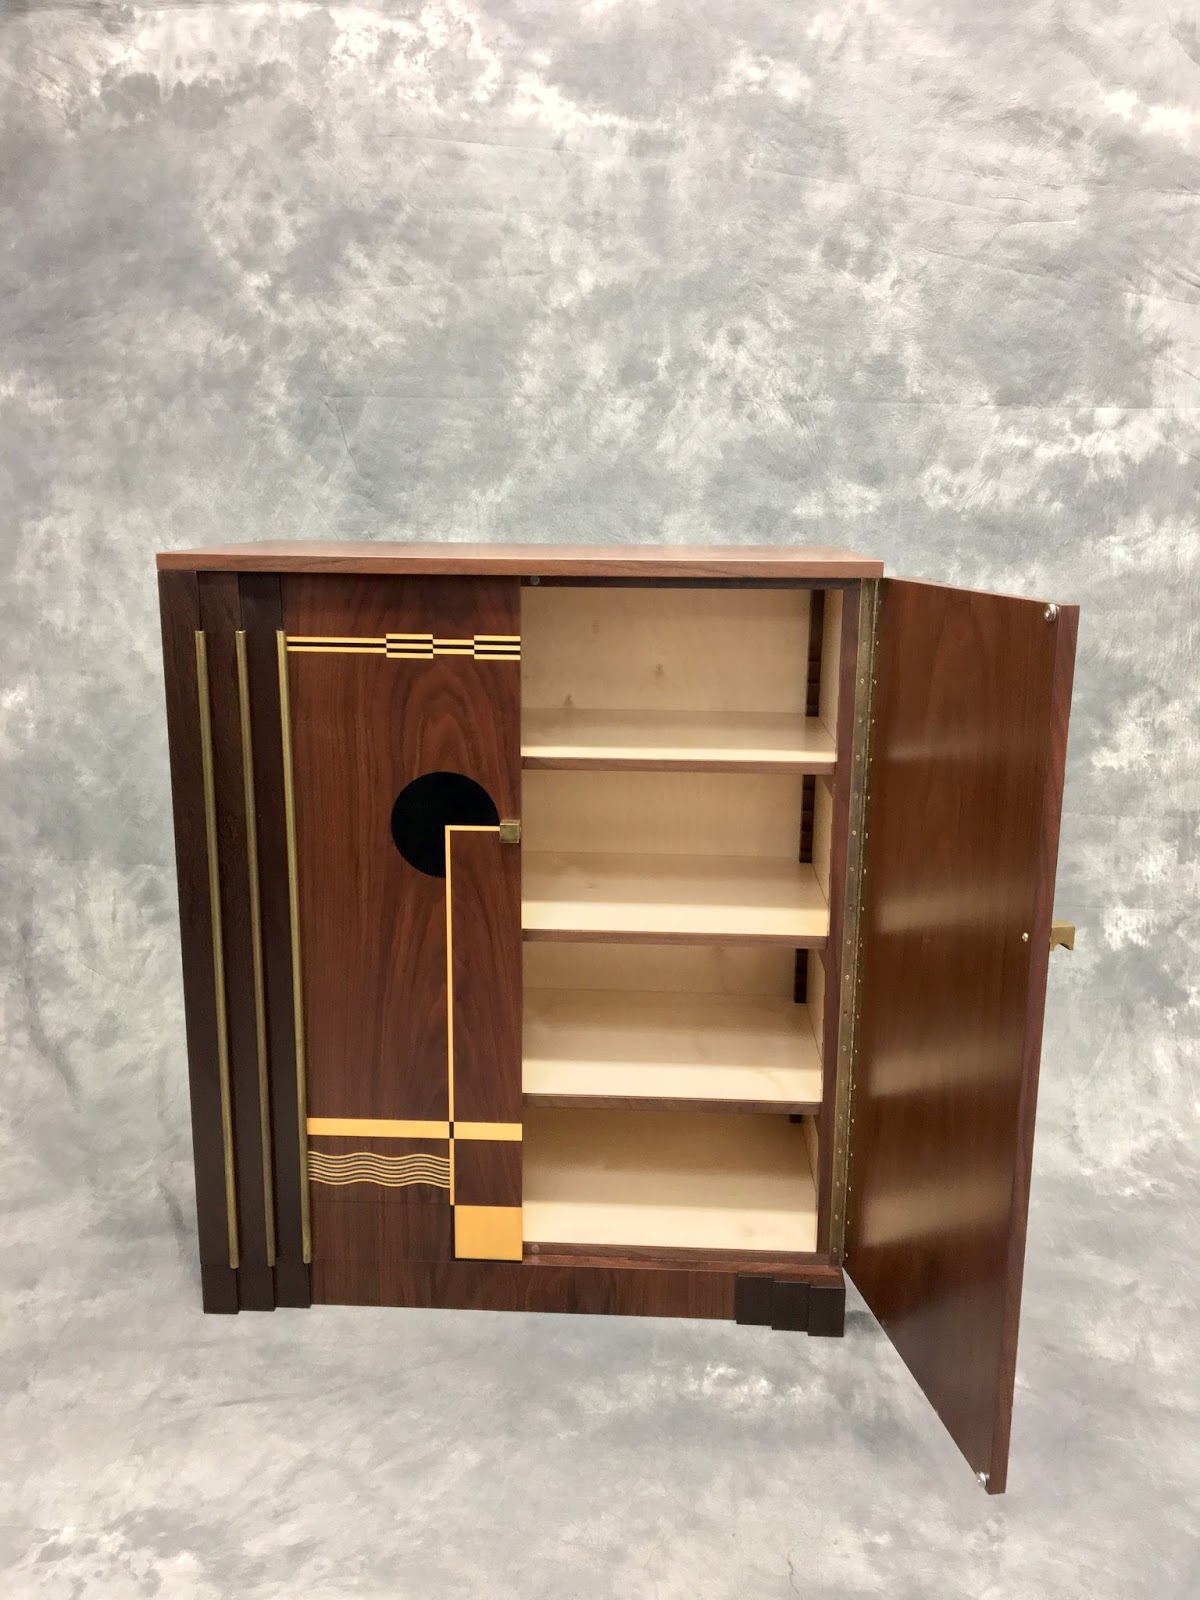
Usually, we prefer to build our furniture out of solid wood but in this case we used high-quality birch plywood.

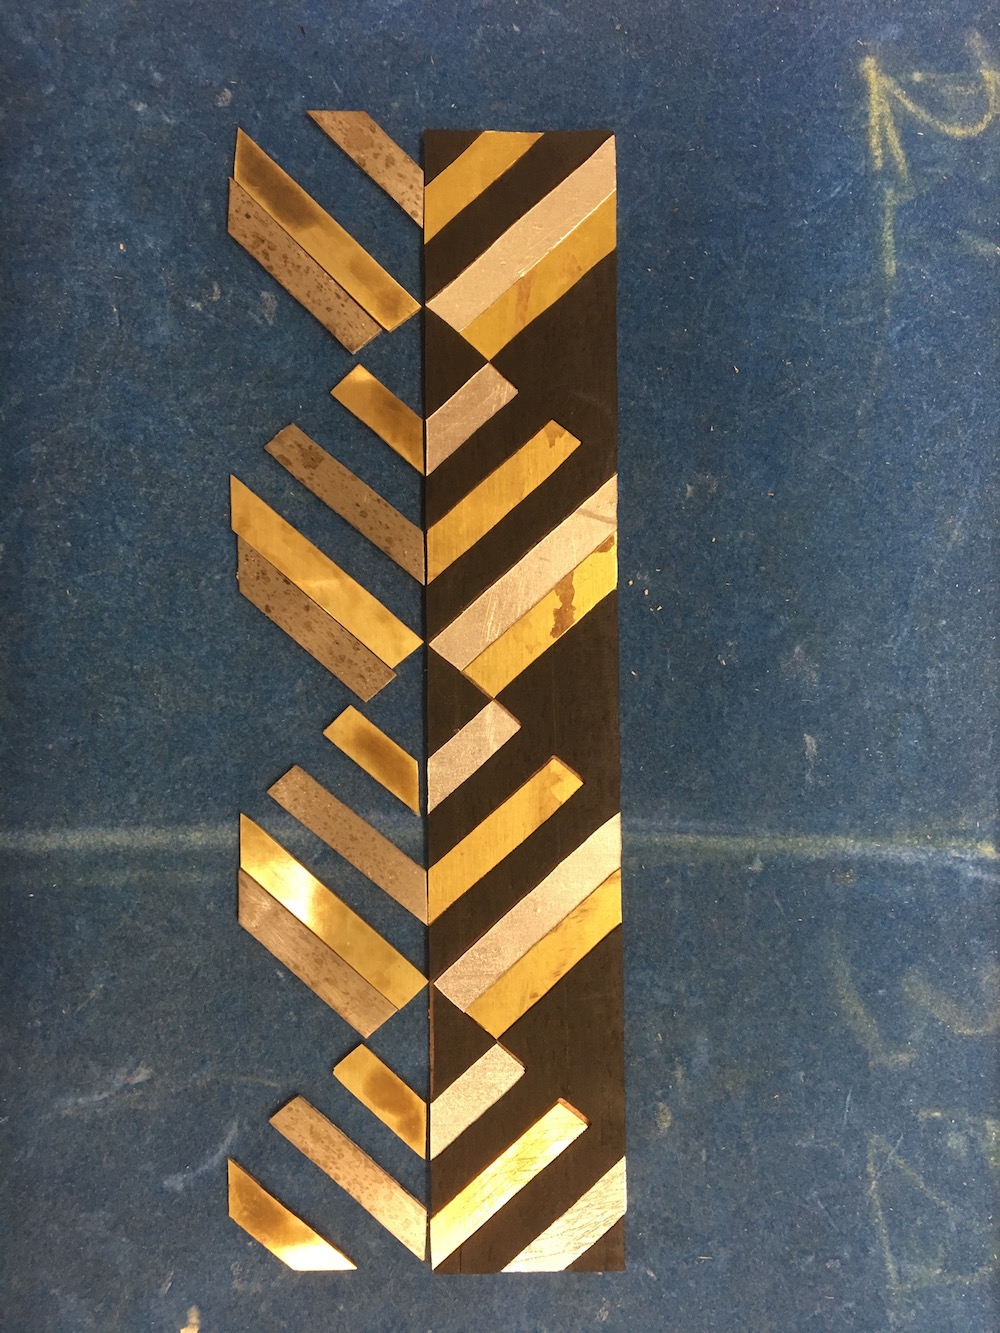
Cutting out the marquetry elements out of metal and wood.
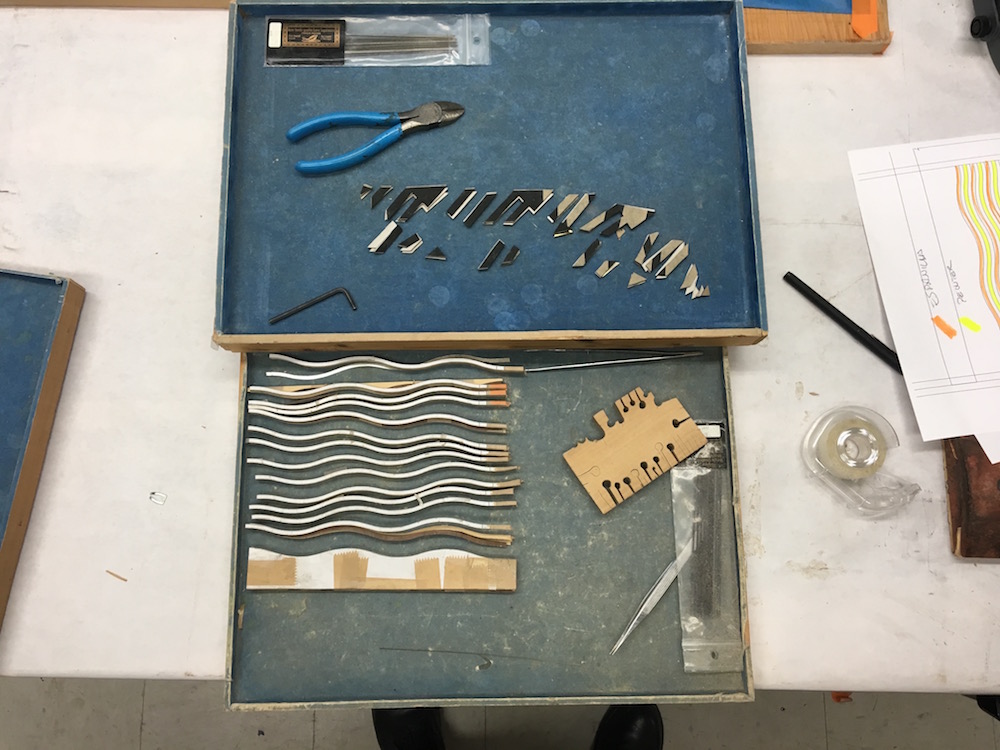
Pre-finishing the metal
In this particular case, the metal pieces needed to match the patina of other brass elements in the room. This forced us to find a way to pre-finish the elements and install them later in the composition, avoiding this way chemical contamination to the nearby woods. I decided to cut the elements in superposition like the “Boulle” technique, therefore I had leftover elements that could be mounted as dummies in the marquetry and kept the final elements that received the patina aside.


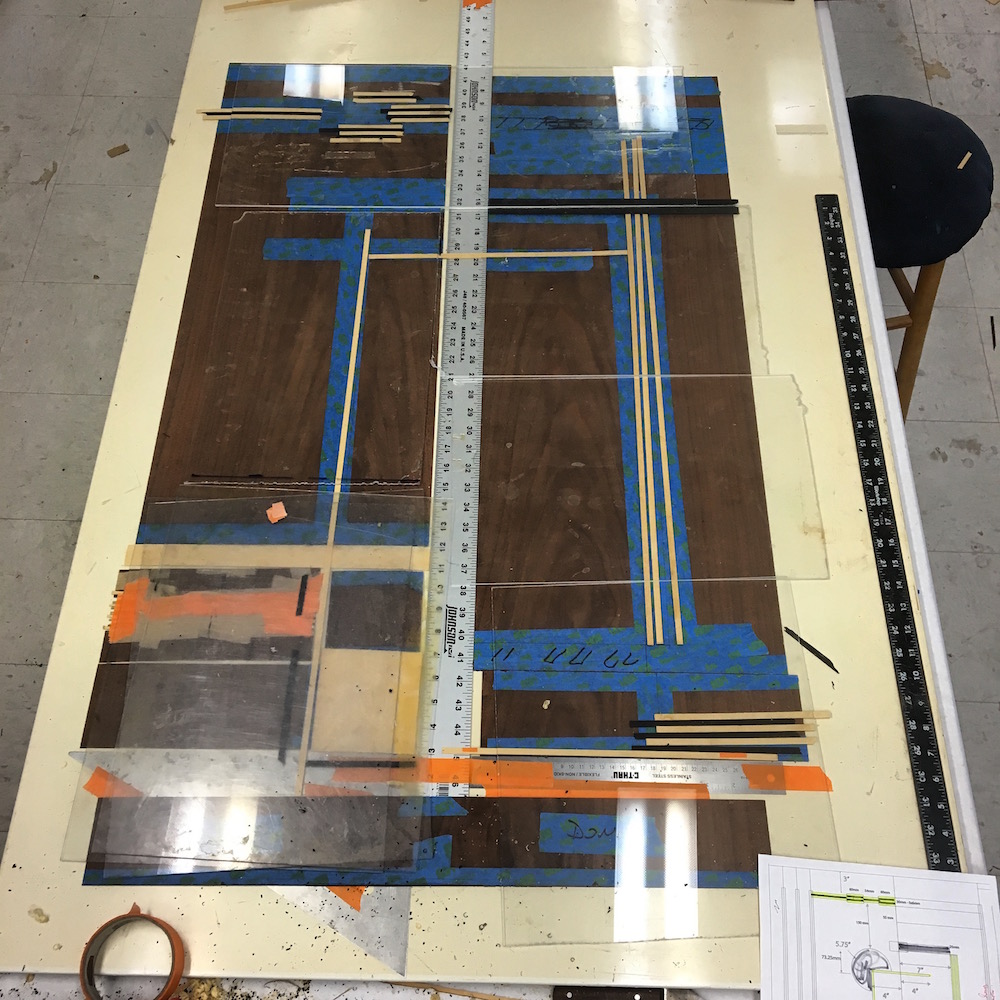
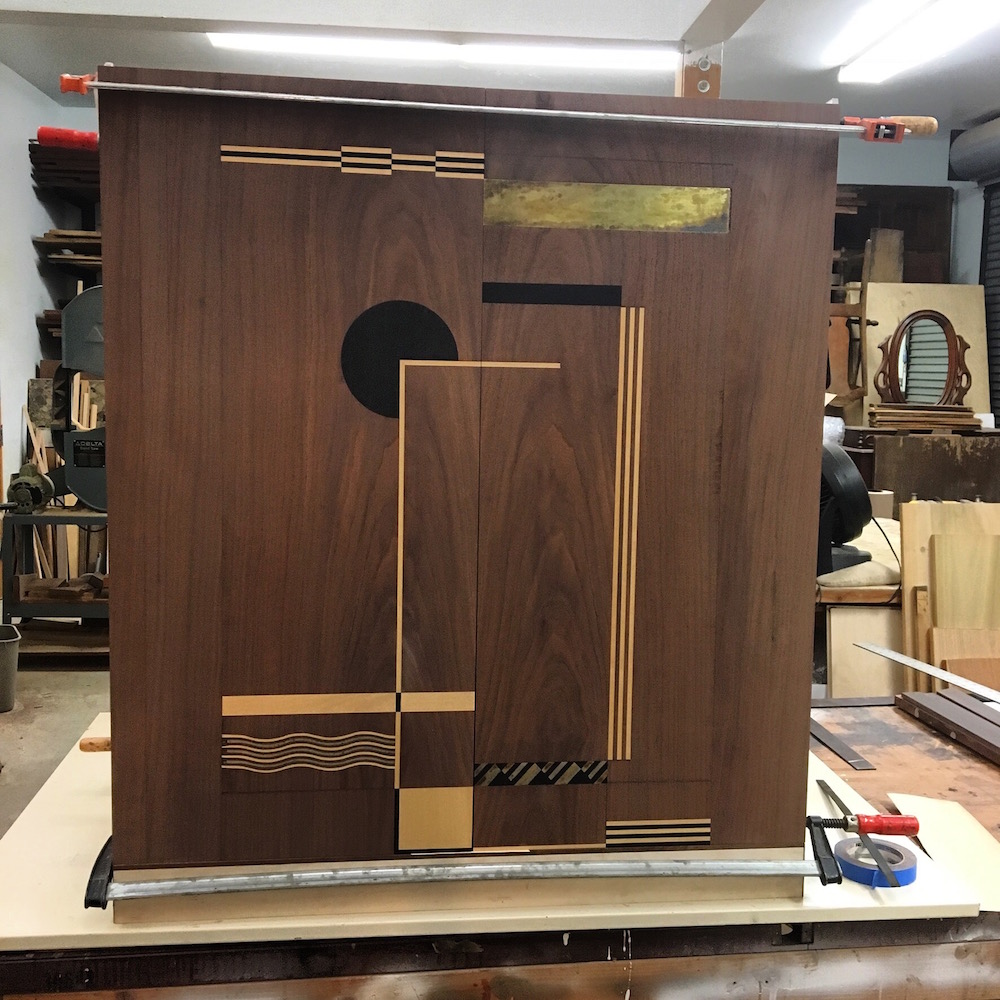
Assembling the marquetry
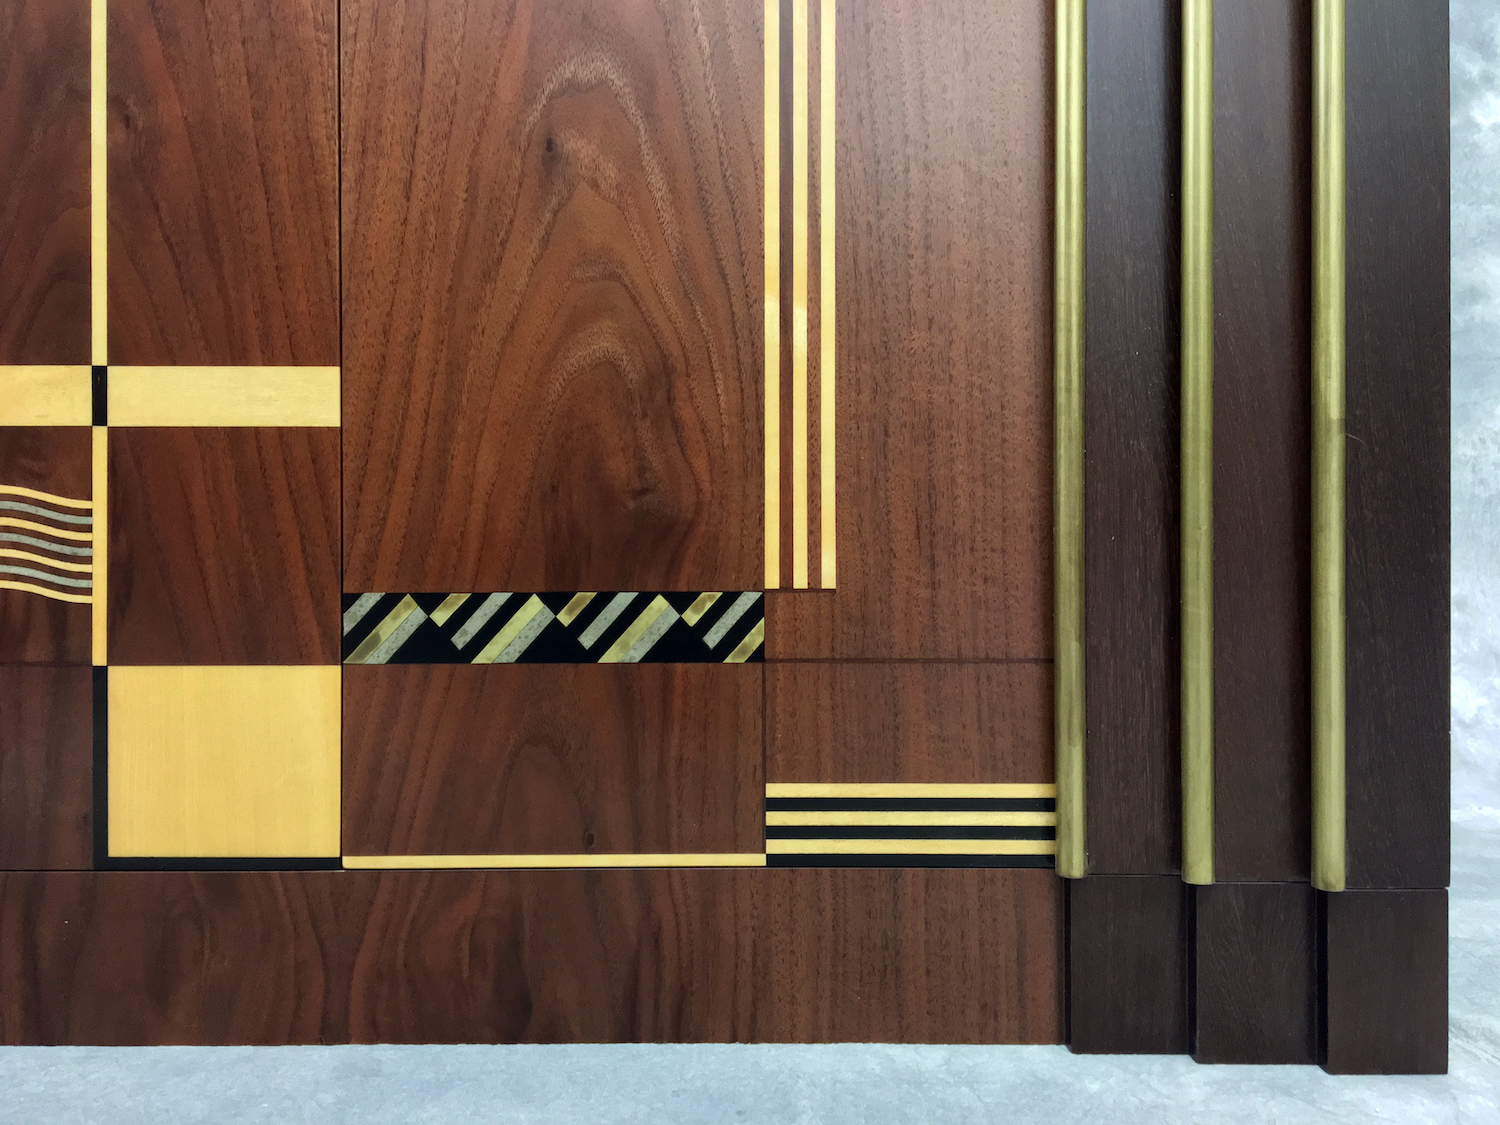
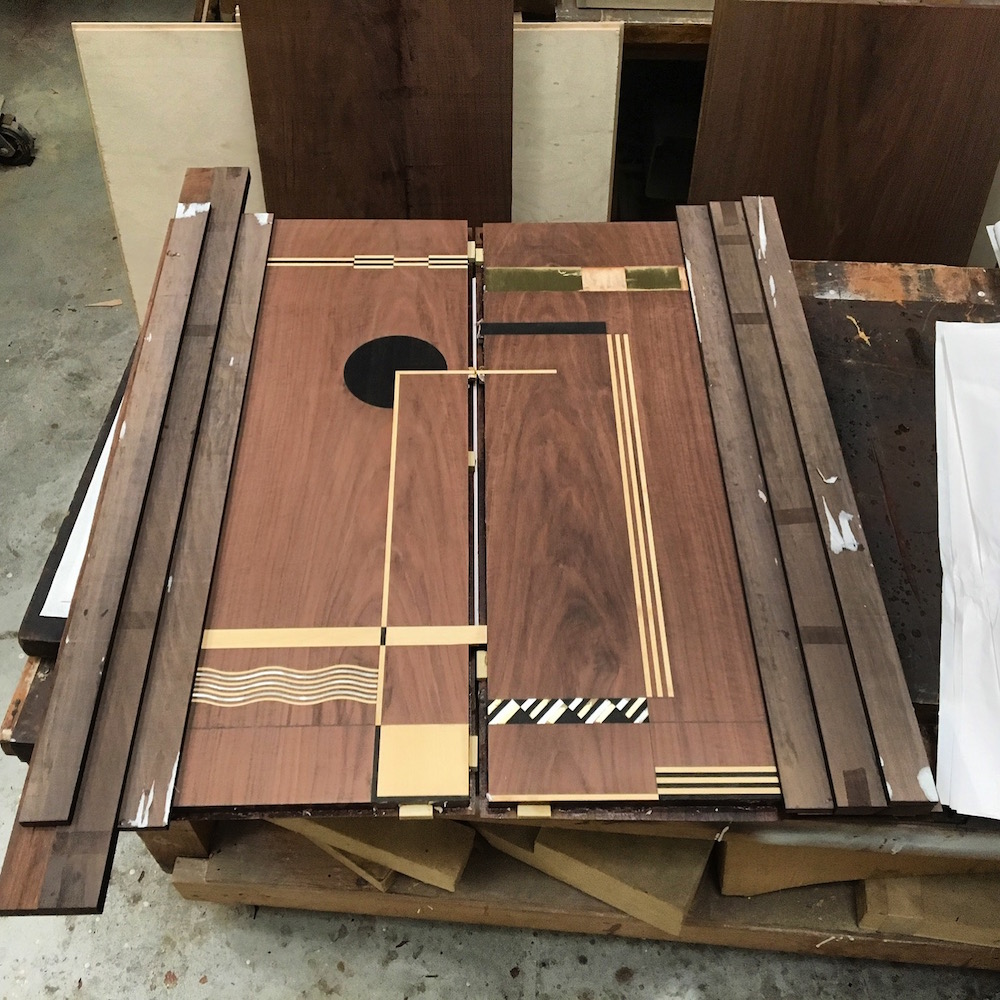
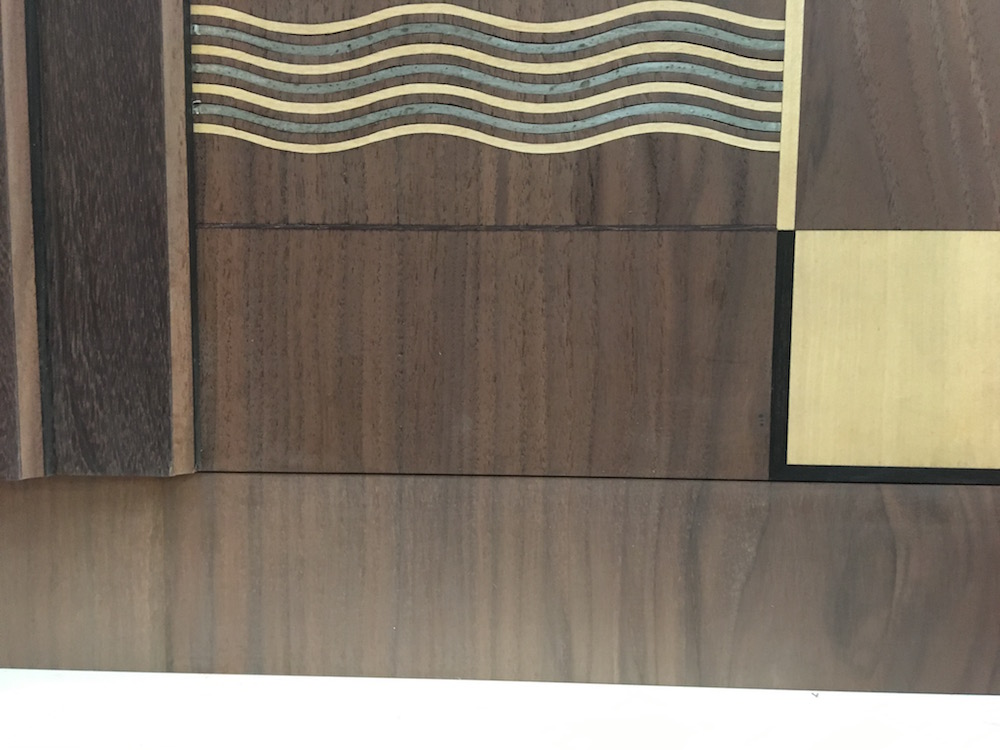
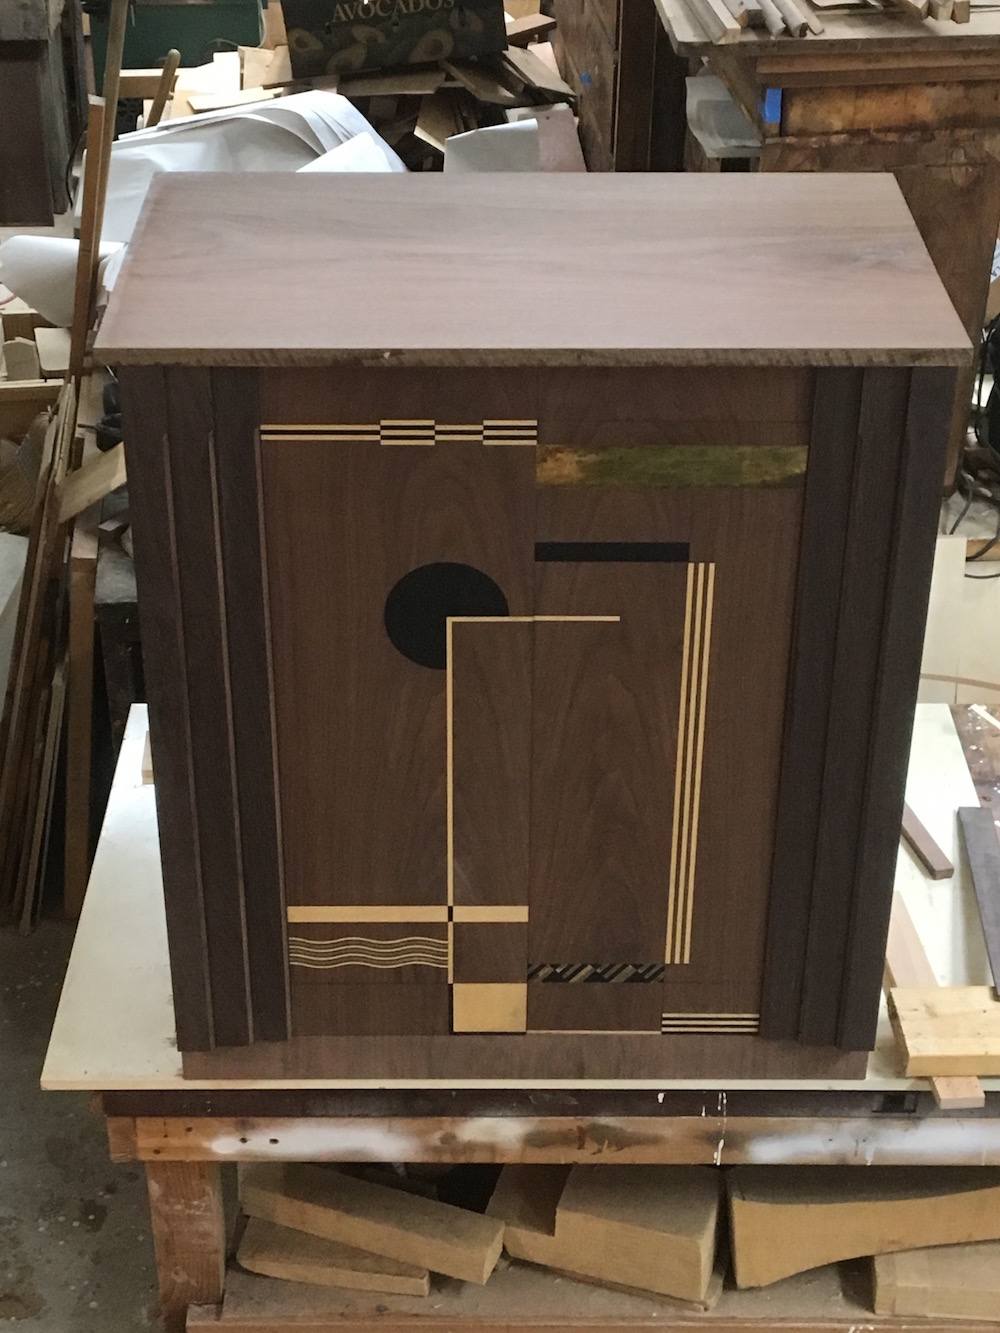
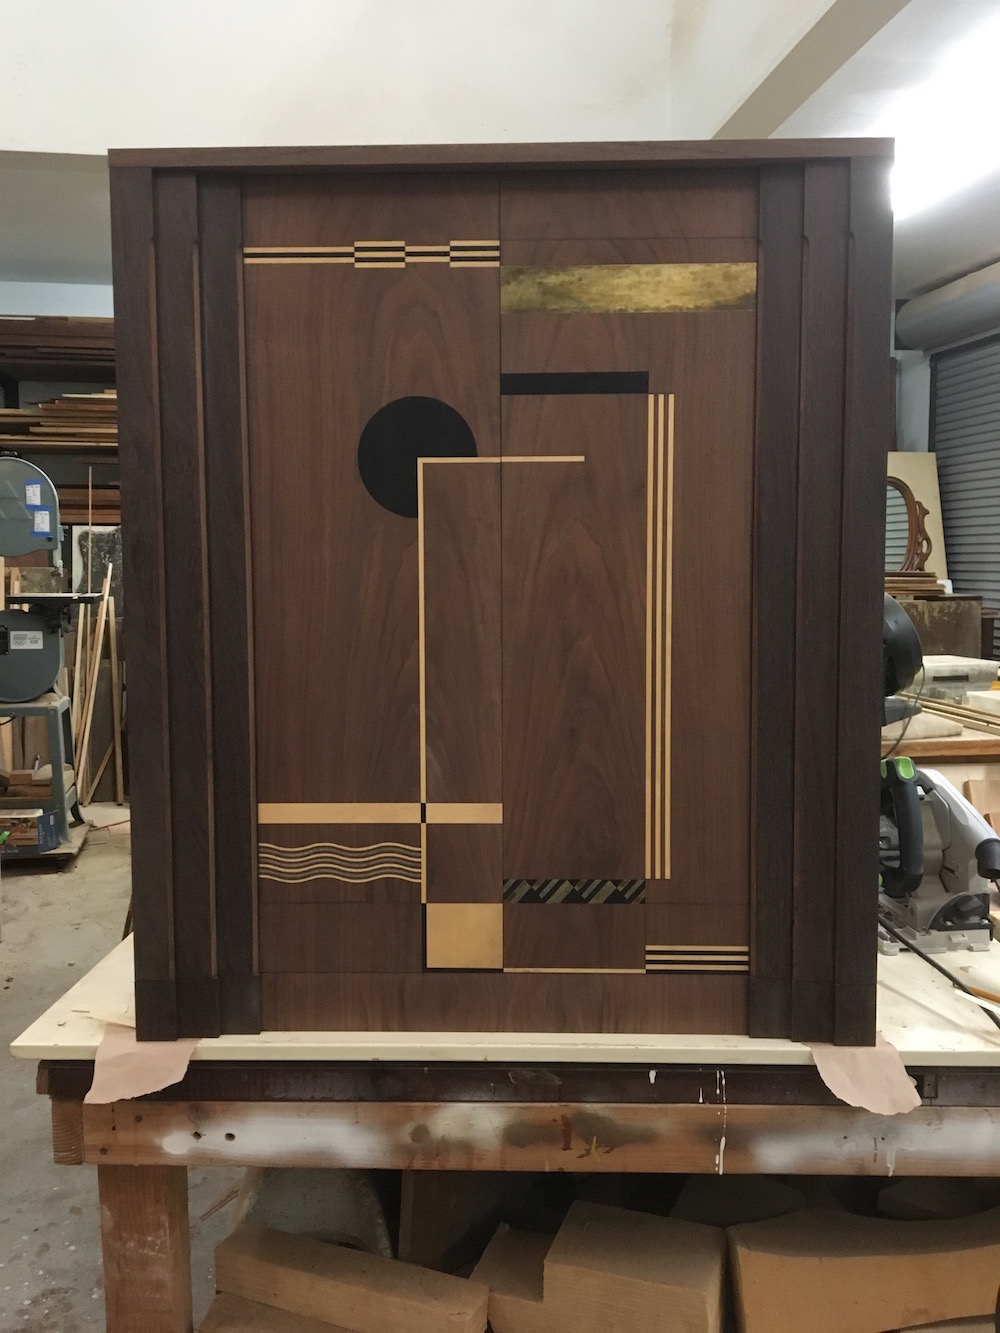
When assembling the marquetry we took great care to have the walnut grain flowing flawlessly throughout the composition.

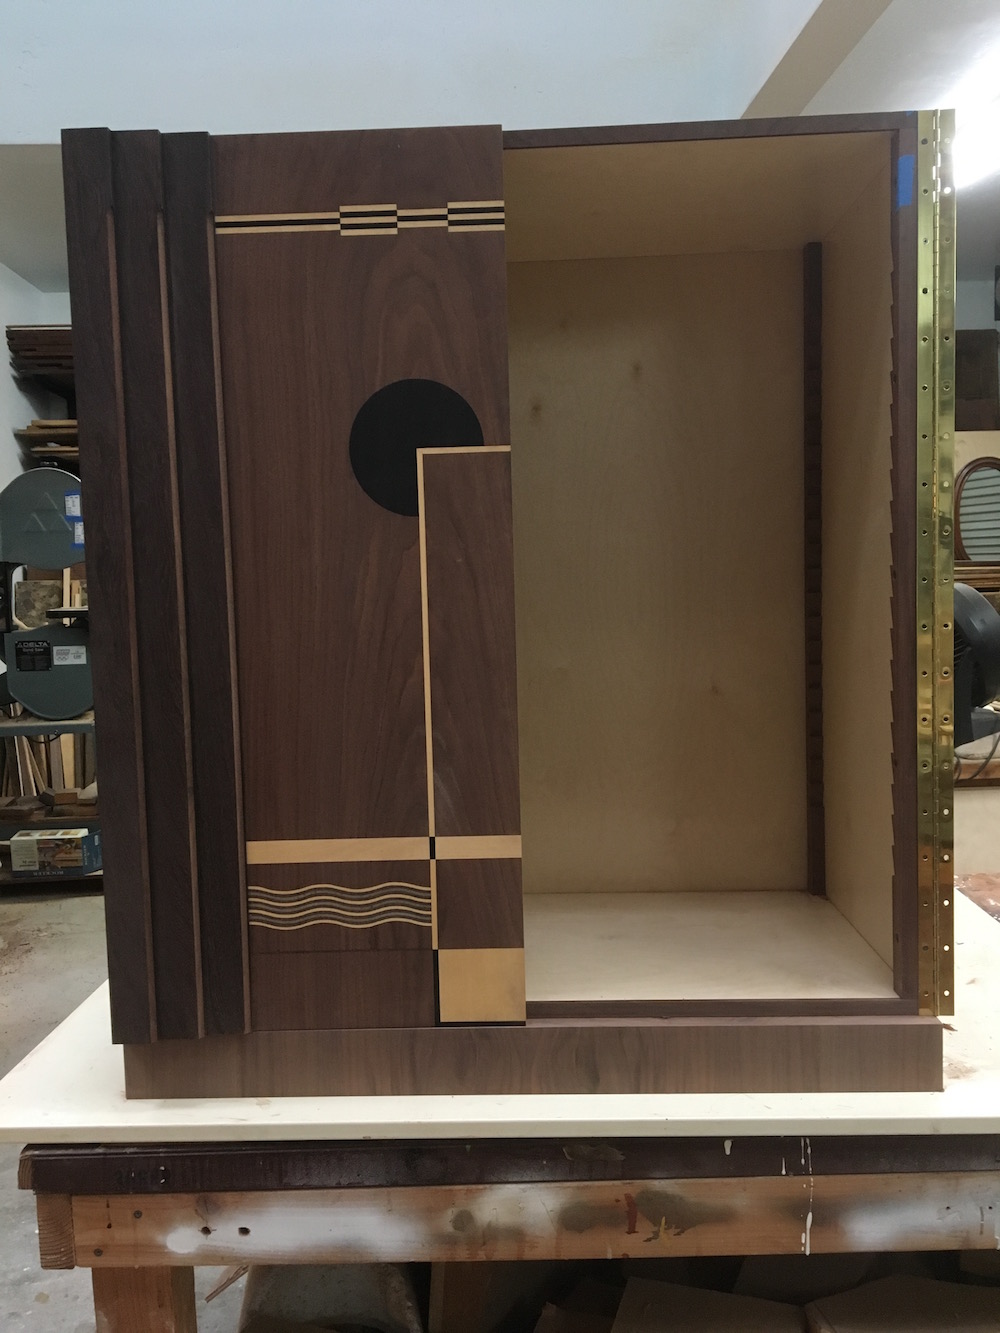
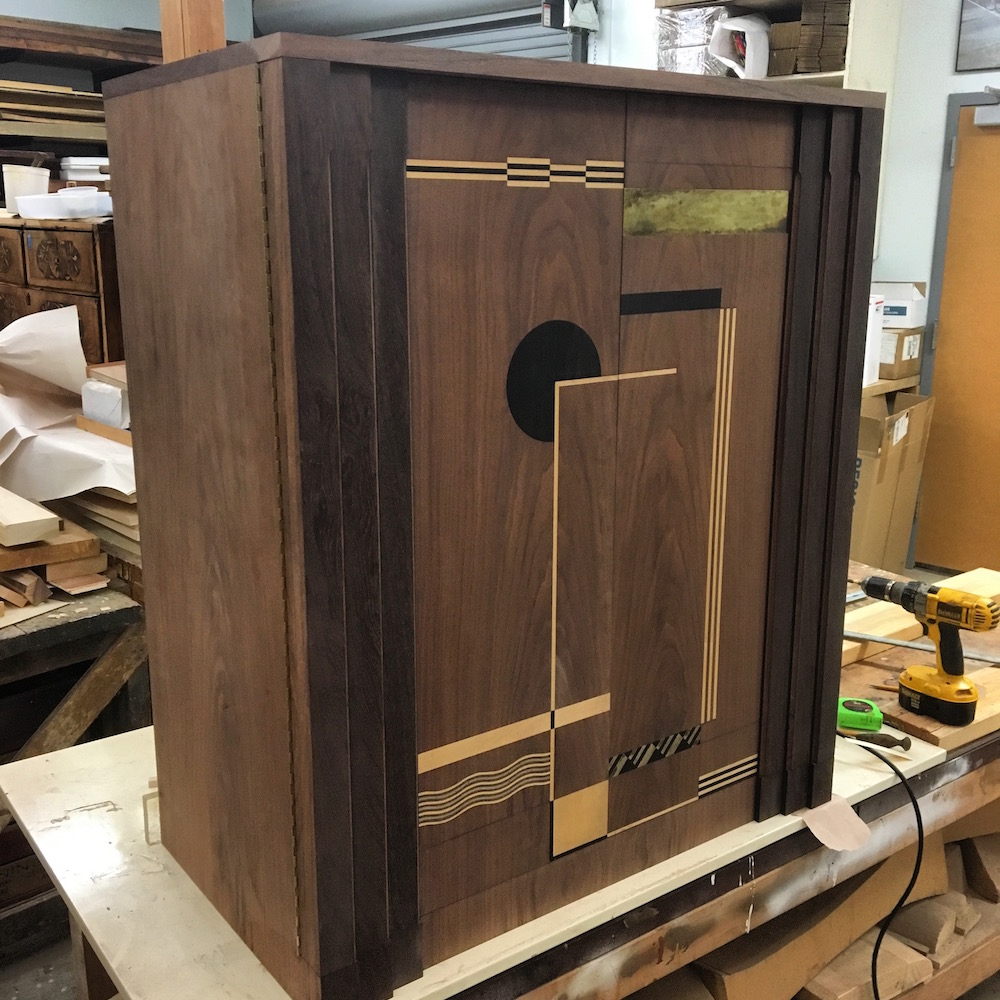
As soon as the marquetry panel is finally assembled it is veneered to the doors. For the pilaster, we used ferréol a dark chocolate color wood on the front, and totally black ebony on the side to create more volume.
The dummy metal pieces are also useful as a depth guide. This way, the doors can be sanded flat up to the level of the final metal pieces.
As we used liquid hide glue, Old Brown Glue, we used the reversibility of the glue to remove the dummy metal elements using heat and moisture.
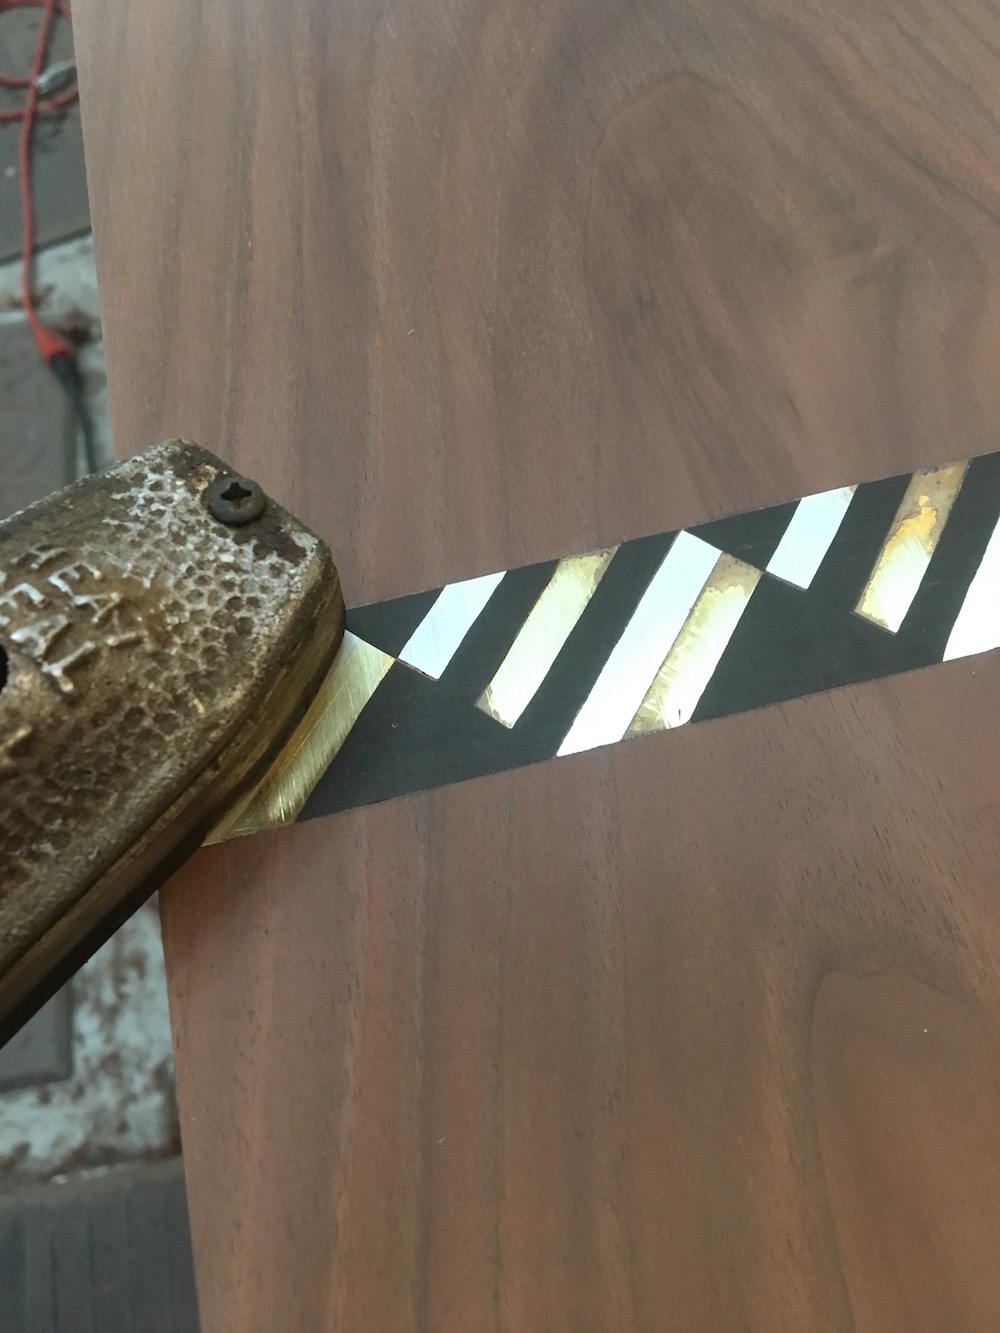
Once the elements removed I cleaned the cavities.

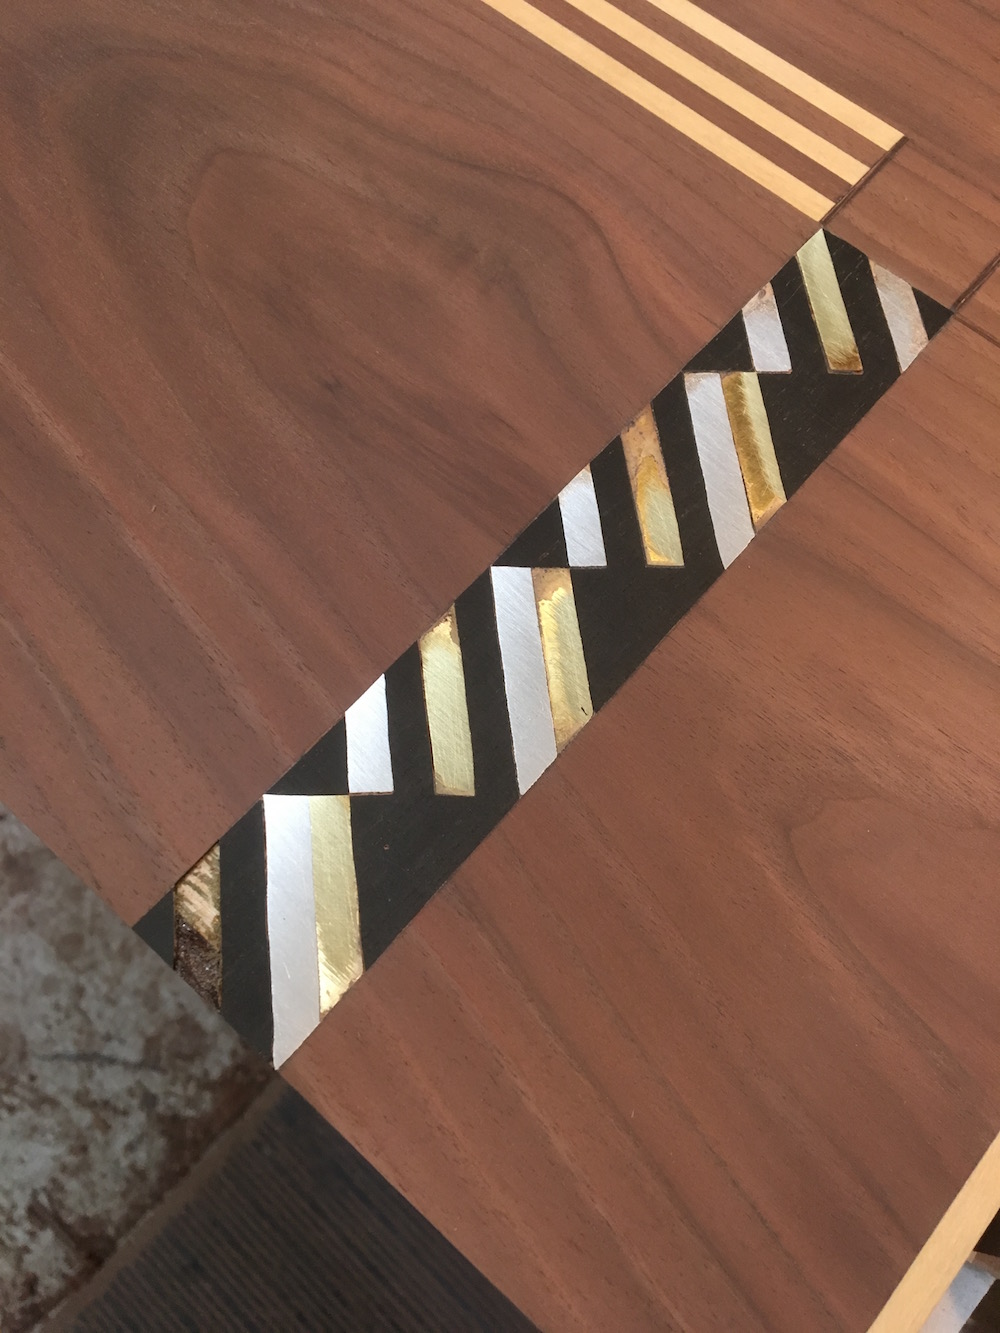
And the final finished elements are inserted and glued with fish glue. Fish glue is the best adhesive for gluing metal on wood.

At this point I could not resist to spray some alcohol to have an idea of the overall effect.

After gluing the cabinet the doors can be adjusted.
Nest step is gluing the pilaster to the doors and the veneer to the kickplate, taking care that the walnut grain flows perfectly thrughout the composition.
Adjusting the solid top to fit the body.
Adding the lower pilaster elements using liquid hide glue, Old Brown Glue.
Next, I fitted the brass rod in the fluting. We added some brass peg to the rods to glue them to the pilaster.

After finishing and, delivery!